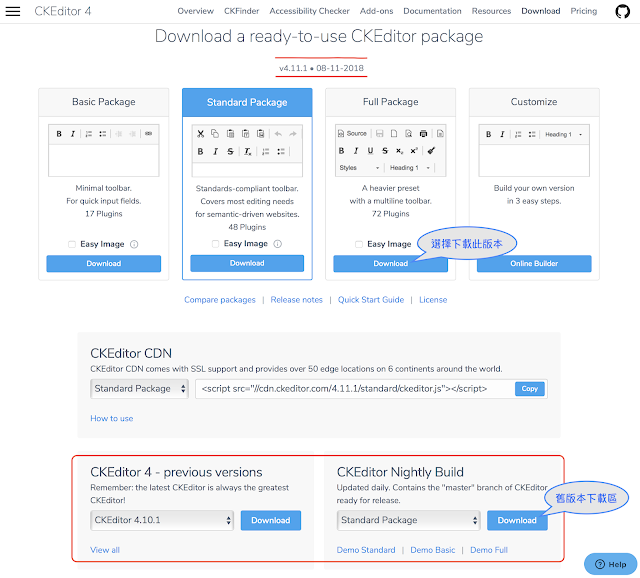
下載路徑
選擇版本
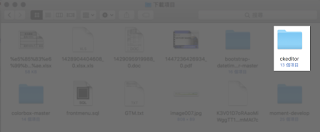
安裝到網站
html檔案內容
呈現結果
設定toolbar
選擇版本
安裝到網站
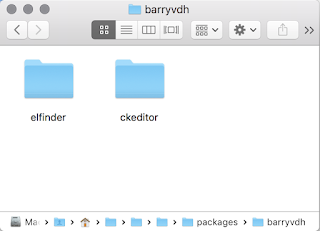
將下載的資料夾移至網站目錄。
下載路徑
網站目錄
<script src="CKEditor路徑/ckeditor.js"></script>
<form><code class="prettyprint">內容:<textarea id="ckedit"></textarea></code></form>
<script>CKEDITOR.replace('ckedit');</script>
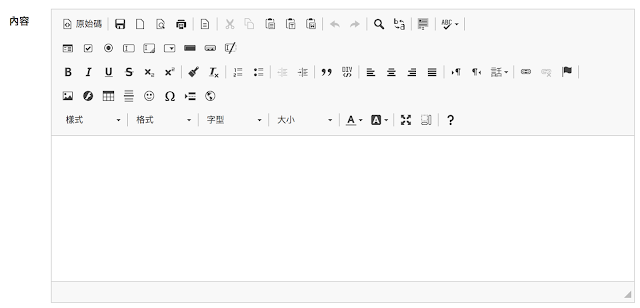
呈現結果
設定toolbar
見到如此煩雜的工具列,看了就是不舒服。
有些工具其實也不必用到,只要在config.js檔設定一些內容,就可以有清爽的工具列了。

 清爽。
清爽。
有些工具其實也不必用到,只要在config.js檔設定一些內容,就可以有清爽的工具列了。

 config.toolbar = 'Full';
 config.toolbar_Full =
 [
  { name: 'document', items : [ 'Source'] },
  { name: 'basicstyles', items : [ 'Bold','Italic','Underline','Subscript','Superscript' ] },
  { name: 'paragraph', items : [ 'NumberedList','BulletedList','CreateDiv' ] },
  { name: 'links', items : [ 'Link','Unlink' ] },
  { name: 'insert', items : [ 'Image','Table','HorizontalRule'] },
  { name: 'colors', items : [ 'TextColor','BGColor' ] },
  { name: 'styles', items : [ 'Format','FontSize' ] },
  { name: 'tools', items : [ 'ShowBlocks'] }
 ];
 config.toolbar_Basic =
 [
  ['Bold', 'Italic', '-', 'NumberedList', 'BulletedList', '-', 'Link', 'Unlink','-','About']
 ];
然後,呈現結果
留言
張貼留言